How to Change Desiccant in an Air Dryer: Safety, Intervals, and Buying the Right Refill
“Air dryer desiccant” can refer to several common service configurations, and the change-out procedure differs substantially between them. A hobby painter with a small compressor may replace or refill a small inline desiccant unit. A truck owner typically replaces a complete air-dryer cartridge. A plant technician may open service ports on a single- or twin-tower dryer and replace a bulk desiccant bed. This guide walks through these three common lanes in order of increasing difficulty. Find yours in the first section, then read the station that matches your equipment. The last section covers what to specify when you order replacement media. A change-out is only as good as the media, filtration, and installation behind it.
First, Know Which “Air Dryer Desiccant” You Own
Three common equipment configurations use this term, and mixing them up can lead to the wrong service procedure. The fastest way to tell them apart is the dryer design and how the desiccant is packaged.
Disposable inline bottles hang on the air line of small compressors: the clear plastic or metal canisters sold for paint spraying and airbrushing. You unscrew the container, pour in replacement desiccant (usually silica gel or activated alumina beads), and screw it back on. Change the fill when you see moisture downstream; fogging paint is the usual alarm. If your question is “can I bake the little silica packets in the oven and reuse them,” do not assume a generic internet temperature applies. Some loose silica gels can be regenerated with heat, but the packet material, indicator dye, additives, and manufacturer’s instructions determine whether oven regeneration is appropriate. For a refillable dryer, use the desiccant supplier’s specified regeneration procedure rather than a generic household-oven setting.
Spin-on cartridges live on trucks, buses, and RVs with air brakes. The “air dryer” here is a small vessel (Bendix AD-9 and AD-IP style) that cleans and dries the air before it reaches the brake system. You normally replace the complete cartridge rather than opening and refilling it, following the vehicle and dryer manufacturer’s service procedure. Service intervals are published in months and miles, and there are real risks in buying the cheapest one (more on that below).
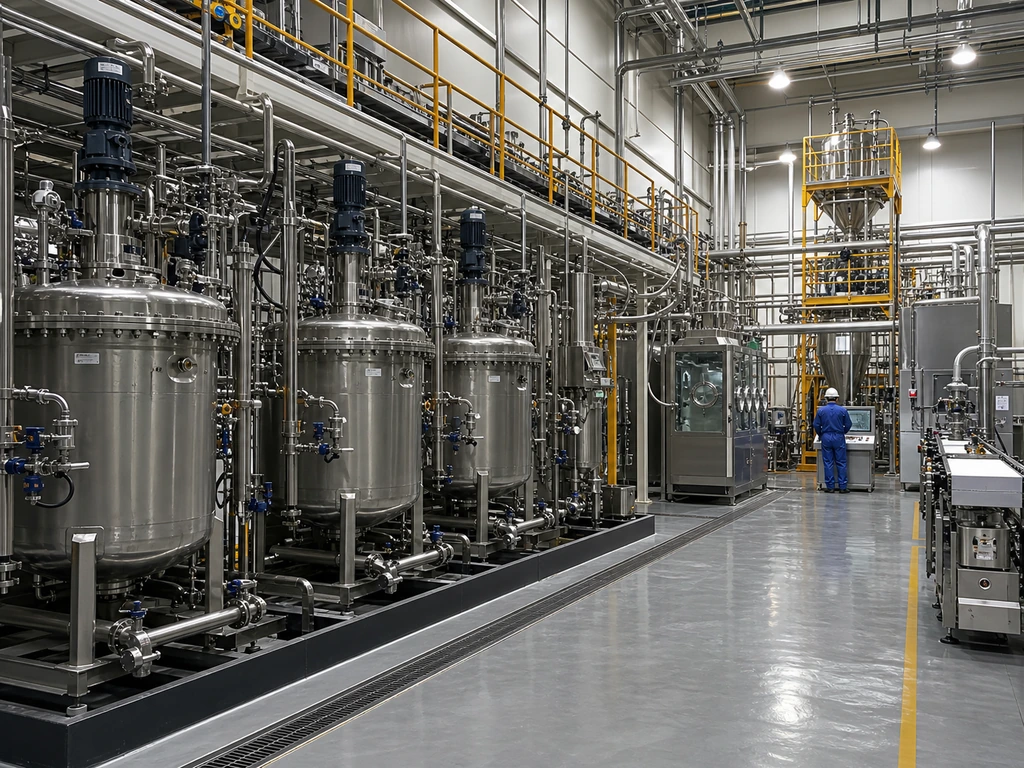
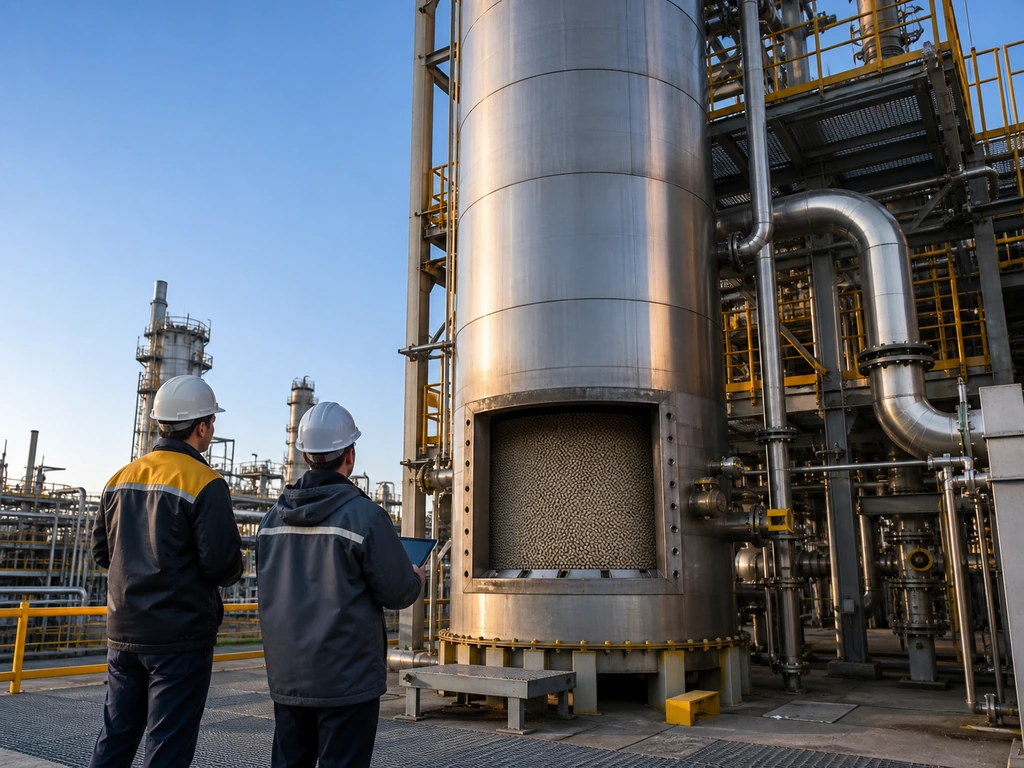
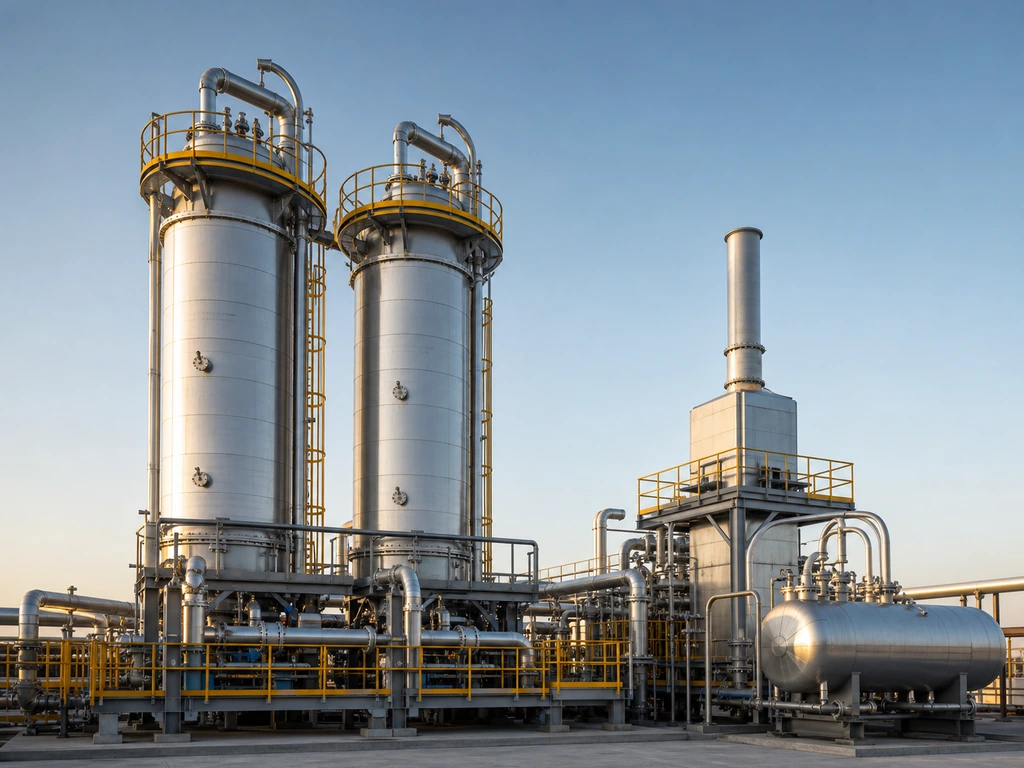
Bulk-fill towers are the industrial machines: single-tank dryers that go offline to regenerate, and twin-tower heatless or heated dryers that switch between two beds. The desiccant (activated alumina, molecular sieve, or both in layers) sits loose inside, and you change it through dedicated fill and drain ports. This is the most involved procedure and requires the closest attention to the dryer manufacturer’s instructions.
Inline bottle (DIY)
Small compressor air lines; twist-off bowl; refill with beads; change when moisture shows downstream
Spin-on cartridge (truck/RV)
Air-brake dryers (AD-9/AD-IP style); replace whole cartridge by interval; never reuse
Bulk-fill tower (industrial)
Single or twin-tower dryers; unload and refill media through ports; full procedure below
One boundary note: if you arrived here looking for a home dehumidifier or a clothes dryer, this article isn’t it; those machines don’t use regenerative desiccant beds.
Cartridge and Inline Bottle Change-Outs: The Fast Lanes
Inline bottle (DIY lane). Vent the line, unscrew the bowl, dump the spent media, and refill with the same grade of desiccant. Don’t overfill (air needs room to flow), and seat any gasket or O-ring cleanly. A cross-threaded plastic bowl on a 100 psi line is a mess. The change-out may be quick, but it still requires the line to be safely depressurized and the bowl, seal, and media grade to be checked before returning the system to service.
Spin-on cartridge (truck/RV lane). Park on level ground, chock the wheels, and drain the system pressure per your vehicle’s manual before touching the dryer. The old cartridge often fights you; truckers describe needing a strap wrench and some muscle to break it loose. Clean the mounting seat, check the O-ring, lube it lightly, and thread the new cartridge on hand-tight plus a marked turn or a specified torque; overtightening distorts the seal.
How often? A Fleet Equipment technical note reports Bendix guidance of every 24 months or 200,000 miles for certain standard-duty PuraGuard cartridge applications. Treat that as application-specific guidance, not a universal interval for every truck, cartridge, or duty cycle. Follow the current vehicle and dryer manufacturer’s schedule, and shorten the interval when operating conditions or oil carryover warrant it.
Two symptoms deserve respect. Oil in the brake air lines can indicate excessive compressor oil carryover or another air-treatment problem. A new cartridge may address the immediate service item, but it does not correct the underlying cause. And one failure mode is worth its own warning. NHTSA and Bendix’s troubleshooting guides explicitly warn that improperly maintained or cheap aftermarket cartridges can come apart on AD-IP dryers, dumping desiccant straight into the truck’s air system. Desiccant released downstream can contaminate valves and other pneumatic components, so cartridge quality and correct installation matter.
A blown-apart bargain cartridge doesn’t just fail to dry air. It injects desiccant granules into every valve downstream of the dryer. Buy cartridges from a source that stands behind them.
Bulk-Fill Tower Change-Out, Step by Step
Everything in this section applies to single-tower and twin-tower regenerative dryers. The exact port layout differs by manufacturer, so keep the OEM’s fill instructions next to you; good suppliers publish theirs, such as the service guide by Sahara Air Products. What follows is the sequence those manuals share, with the failure each step prevents.
Depressurize & isolate
Dump the bed & inspect
Refill clean & dry
Reseal, leak-check, commission
Step 1: Depressurize, isolate, verify zero
Never open a tower under pressure. Every manufacturer’s guide puts this first, because it is the one step that puts people in the hospital. Isolate the dryer (valve off both towers, or engage the bypass if the system has one), then vent slowly through the designated depressurization path. Verify zero on both pressure gauges before any tool touches a bolt. While you’re at it, lock the isolations: a compressor restarting mid-change can re-pressurize a tower you’ve already opened.
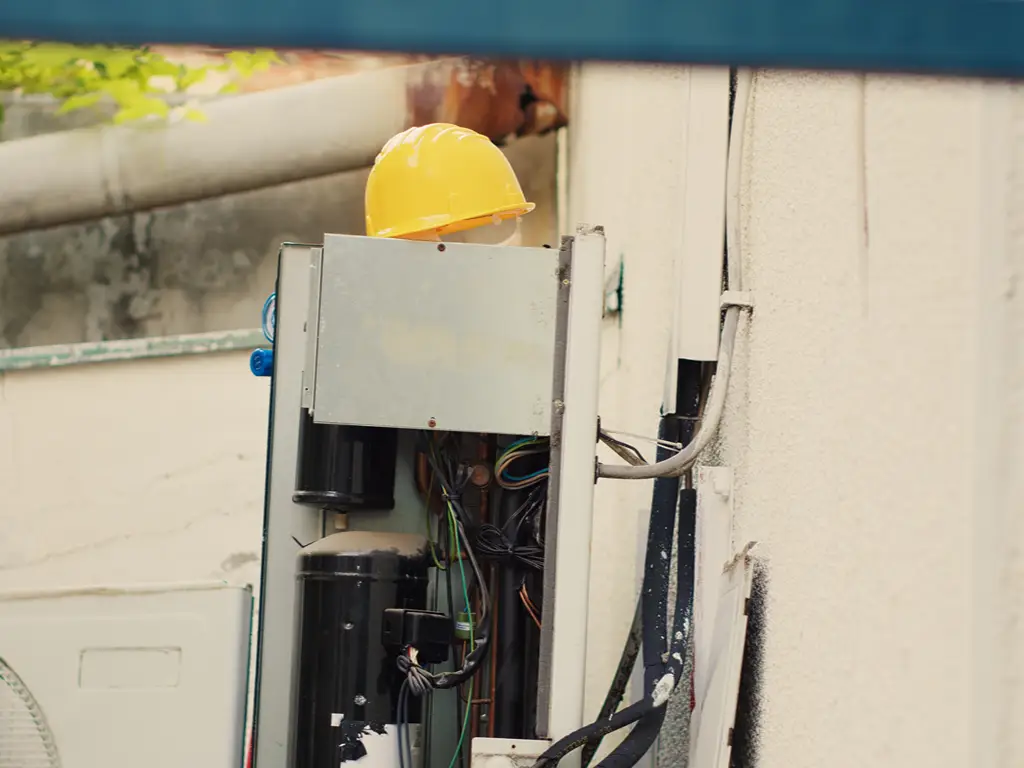
Step 2: Dump the bed and read what comes out
Open the fill and discharge ports and let the media run out, easing it with a soft rod if it bridges. Now read the evidence, because the spent bed is a diagnostic record:
Greasy brown film on media and walls means compressor oil got past the pre-filter. This is the most serious finding; see the failure modes section below.
Powder and fines at the bottom of the batch indicate attrition from years of pressure cycling. Some dusting is normal; a lot of it means the media is breaking down.
Damaged support screens or bed springs explain media that has been escaping downstream. Inspect them now and replace any damaged or worn components according to the dryer manufacturer’s service instructions.
Step 3: Refill clean and dry
Three rules. First, follow the media supplier and dryer manufacturer’s loading instructions; if screening is specified, remove excessive fines before loading. Excess dust can increase pressure drop and interfere with flow distribution. Second, keep the new drums sealed until the moment they go in. Desiccant starts adsorbing ambient humidity the second it’s exposed, which is why reputable producers pack in low-humidity conditions and seal quickly. Third, fill to the tower’s marked height and allow for settling. Never overfill: a bed with no freeboard will carry media into the valves at every pressure surge. If your dryer runs a layered bed (activated alumina guard layer at the inlet, molecular sieve working layer above it), reload it in the designed order, not mixed.
Step 4: Reseal, leak-check, commission
Install new gaskets where specified, torque covers evenly to the manufacturer’s specification, then pressurize slowly and leak-check every joint you opened. Put the dryer back in service and monitor dew point through the first complete cycles; the response depends on the dryer design and operating conditions. The last bit of housekeeping separates a professional change-out from an amateur one. Replace the pre-filter elements at the same time; as advised by Van Air Systems, they’re typically serviced every 6 to 12 months on a differential-pressure signal, and they are what protect the new bed. Then log the date plus the media batch number, so the next change-out has a baseline.
Why Desiccant Dies Early — and When It Actually Needs Changing
Vendor guidance on change intervals varies because dryer design, inlet conditions, regeneration method, media, and operating duty vary. Some manufacturers describe multi-year service life under suitable conditions, but there is no universal replacement interval for every heatless, heated, or single-tower dryer. The defensible approach at your plant is to follow the OEM schedule and use dew point, pressure drop, contamination, and media-condition evidence to adjust service timing where the manufacturer allows it.
The four ways desiccant fails
Oil contamination, the irreversible one. Compressor oil that reaches the bed can coat adsorption sites and permanently reduce working performance. Severe oil contamination is normally treated as a replacement condition rather than something to reverse with routine heating. Inadequate front-end filtration is a common cause of this problem, so a greasy bed should trigger an inspection of the compressor, separator/coalescing filtration, drains, and related air-treatment equipment. Do not assume a specific change interval will be cut by a fixed number of years; the effect depends on the severity and duration of contamination. If your spent bed came out greasy, fix the pre-filter before you blame the media you’re about to install; it will die the same way.
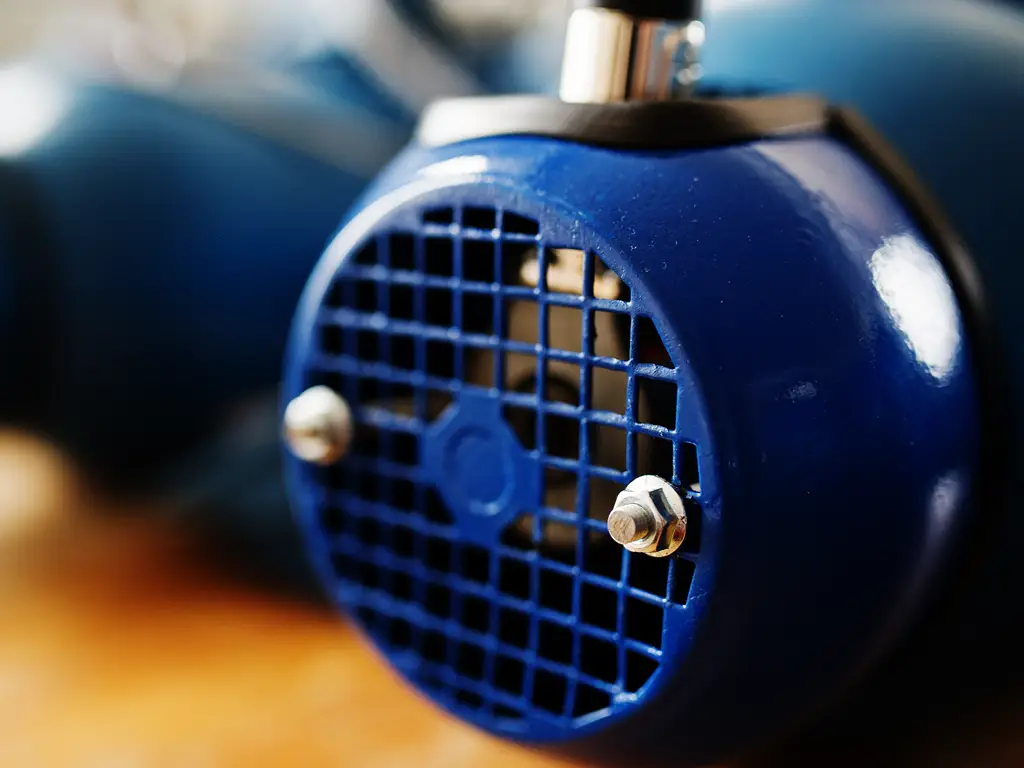
Water slugs, the accelerant. When an upstream refrigerated dryer, separator, or drain fails, liquid water can reach the adsorption bed. Liquid-water carryover can damage or degrade conventional bead desiccants and sharply shorten service life, so the root cause should be corrected before installing replacement media.
Dusting and attrition. Years of pressure cycling grind media into fines. Fines raise pressure drop, and raised pressure drop makes the flow distribution worse, which accelerates the problem. You’ll see it as rising ΔP across the dryer and dust at the downstream filter.
Channeling at partial load. Channeling can occur when gas distribution through an adsorption bed is poor, including when the dryer is operated outside its intended flow range. If dew point drifts at low load, check the dryer design, flow distribution, purge settings, valves, and media condition rather than assuming the media itself is exhausted. Hot media has reduced water-adsorption capacity, so heated dryers also require the specified heating and cooling sequence. Do not apply a fixed three-hour heating/one-hour cooling cycle to every heated dryer; use the OEM’s cycle times and temperature limits.
Severely oil-contaminated desiccant is normally replaced rather than regenerated.
Severe oil contamination can permanently reduce adsorption performance. In practice, contaminated media is normally replaced rather than regenerated; the extent of replacement should follow the dryer and media manufacturer’s guidance.
An interval framework you can defend
With the failure modes on the table, the contradictory numbers collapse into one picture: intervals are ranges, and where you land depends on what your inlet air is doing to the bed.
| System | Typical change interval | Why the range |
|---|---|---|
| Vehicle cartridge (standard-duty line-haul) | 24 months or 200,000 miles (per Fleet Equipment) | Published guidance; shorten with heavy idle or oil carryover |
| Heatless twin-tower | Often multi-year, but OEM-specific | Inlet oil and water, flow, regeneration, cycling, and media condition matter |
| Heated twin-tower | Often multi-year, but OEM-specific | Heating method, cycle control, inlet conditions, and media condition matter |
| Single-tower (offline regen) | OEM- and duty-specific | Operating cycle, regeneration, inlet conditions, and maintenance determine life |
When a big bed’s schedule matters, replace guesswork with multiple indicators. A sample can be tested for static water adsorption against the fresh-media specification under the same standardized test conditions, but static capacity is not the same as dynamic working capacity in a running dryer. Combine any laboratory test with pressure dew point, pressure drop, contamination, cycle performance, and the OEM’s replacement criteria before condemning the bed. A published 4A value such as ≥22.5%wt at 75% RH and 25 °C is a specification under defined test conditions, not a universal field threshold.
One boundary before you order media: dew point creep is not automatically dead media. Check the switching valves for internal leakage. Confirm the regeneration heater actually reaches temperature. Regeneration temperature is adsorbent- and dryer-specific. BASF documentation describes roughly 170–200 °C external-heating conditions for some adsorption-drying applications, while deeper molecular-sieve drying can require different or higher conditions. Use the dryer OEM’s specified regeneration temperature, cycle time, and maximum bed temperature rather than applying one temperature to every system. The regeneration gas must be hot enough for the required desorption but remain within the adsorbent and equipment limits. Only then condemn the bed.
Failure forensics: what your bed is telling you
| Failure mode | Telltale sign | Media recoverable? | Immediate action |
|---|---|---|---|
| Severe oil contamination | Greasy brown film on media and walls | Normally not treated as recoverable in service | Investigate oil carryover and filtration; replace media as required by OEM/media supplier |
| Liquid-water carryover | Wet or caked media; possible strength loss or dusting | Condition-dependent | Stop the water source; inspect media and follow OEM replacement criteria |
| Dusting / attrition | Fines at bed bottom; rising pressure drop | No | Replace media; inspect support screens |
| Channeling (partial load) | Dew point drift at low flow; media looks clean | Yes (bed is fine) | Fix flow/size mismatch or purge rate |
| Normal exhaustion | Rising outlet dew point with no equipment fault | Usually no in normal service | Confirm valves, regeneration, flow, and dew point; then schedule change-out per OEM criteria |
What to Demand When You Buy Refill Media
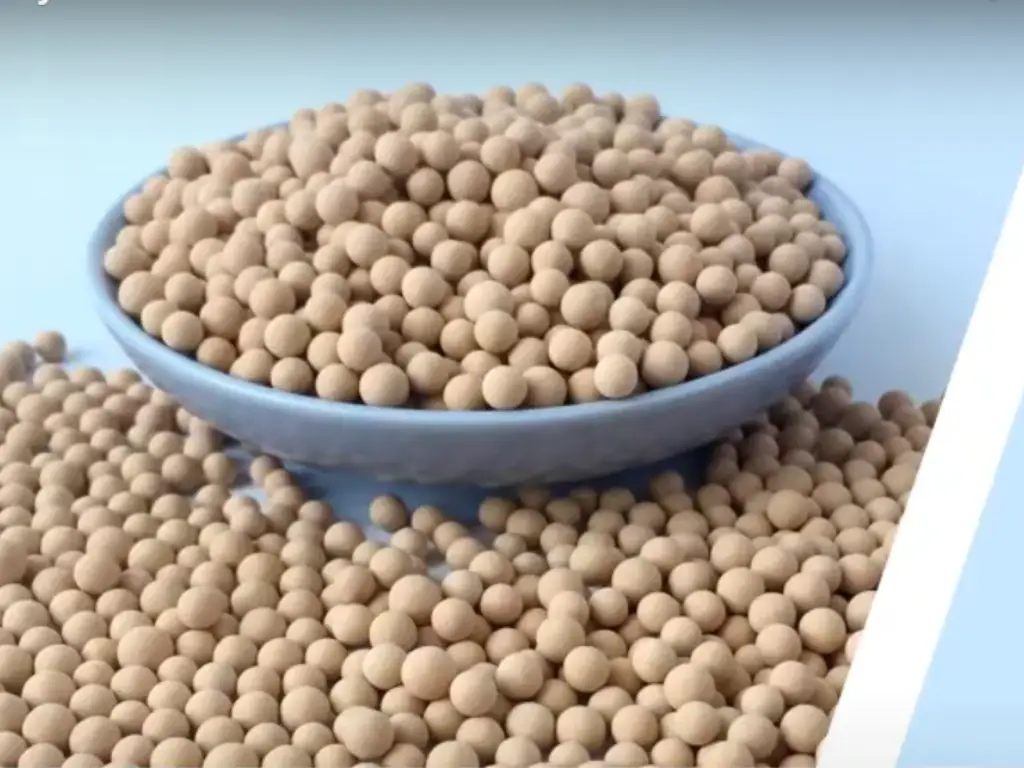
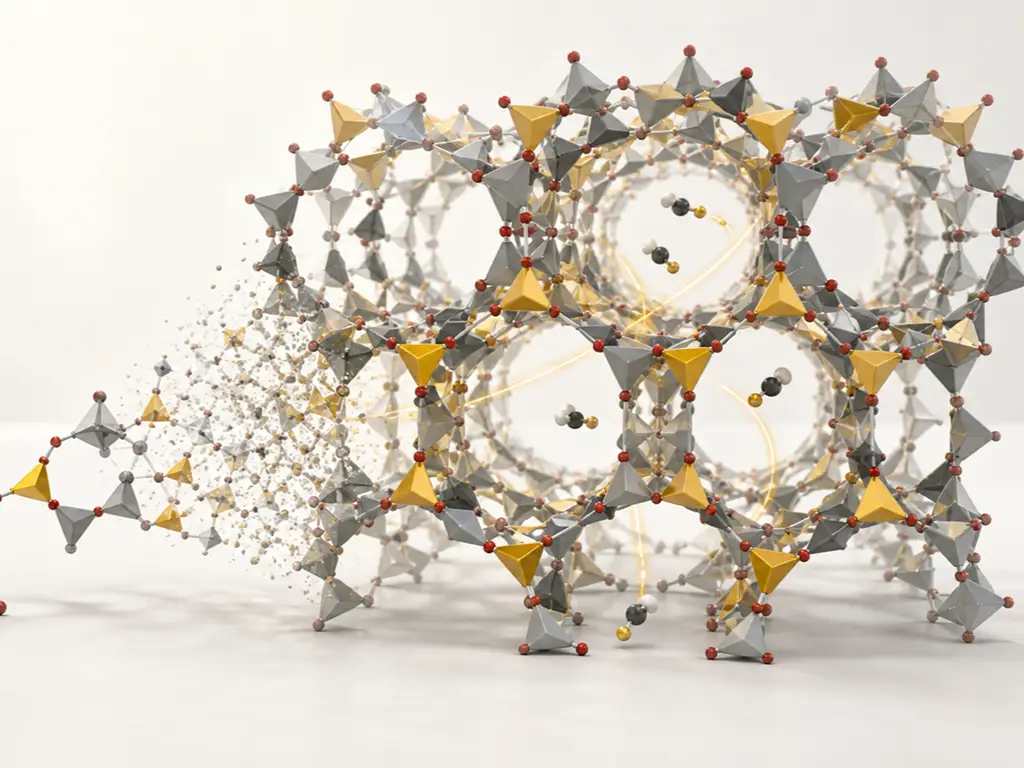
A change-out ends with a purchase order, and this is where buyers should order to specification rather than simply asking for “desiccant for a 500 cfm dryer.” Start with the required pressure dew point and the dryer manufacturer’s approved media. Activated alumina is widely used for general compressed-air drying around the -40 °C class. Molecular sieve is used where deeper drying is required; 4A is commonly selected for water removal, while 13X can also adsorb CO₂ when CO₂ removal is part of the process specification. Ordinary instrument air does not automatically require CO₂ removal. In ISO 8573-1, Class 2 and Class 1 refer to the water/pressure-dew-point class of the compressed-air specification: ≤ -40 °C and ≤ -70 °C respectively. Achieving a class depends on the complete dryer design, operating conditions, and media arrangement, not on media name alone. (If you’re wondering about 3A or oxygen-grade sieves, those are specialized products for applications such as alcohol/refrigerant drying or gas separation.)
Refill media selection map
| Media | Pressure dew point capability | Tolerates liquid water | Also removes CO₂ | Typical role in the bed |
|---|---|---|---|---|
| Activated alumina | Commonly used around the -40 °C class | More tolerant of moisture exposure than molecular sieve, but liquid water should still be prevented | No | Guard layer or sole media in suitable dryers |
| Silica gel | ≈ -40 °C class | Moderate | No | General-purpose fills; less common in hot oil environments |
| 4A molecular sieve | Used for deep drying; achievable PDP is system-dependent | Liquid water should be prevented | No | Deep-dry working layer |
| 13X molecular sieve | Used for deep drying; achievable PDP is system-dependent | Liquid water should be prevented | Yes | Deep-dry and CO₂-removal applications |
Then order against five datasheet numbers, not adjectives:
- Static water adsorption (%wt), always with test conditions. A current 4A bead datasheet guarantees ≥22.5%wt at 75% RH, 25 °C. 13X guarantees ≥26.5%wt water plus ≥18.5%wt CO₂ capacity (250 mmHg, 25 °C). Activated alumina runs ≥17%wt at 60% RH, 25 °C, with premium grades at ≥20–22%wt.
- Crush strength in newtons, averaged over 25 beads. Alumina grades run roughly 25 N up to 280 N by grade; sieve beads around 30–85 N. Low strength is what becomes dust in two years.
- Size and form. Beads in 1.6–2.5 mm or 3–5 mm, pellets in 1/16″ or 1/8″. Match what your support screens were designed for.
- Bulk density in g/ml, tapped. Typically 0.60–0.74. It sets how many kilograms actually fit your bed volume.
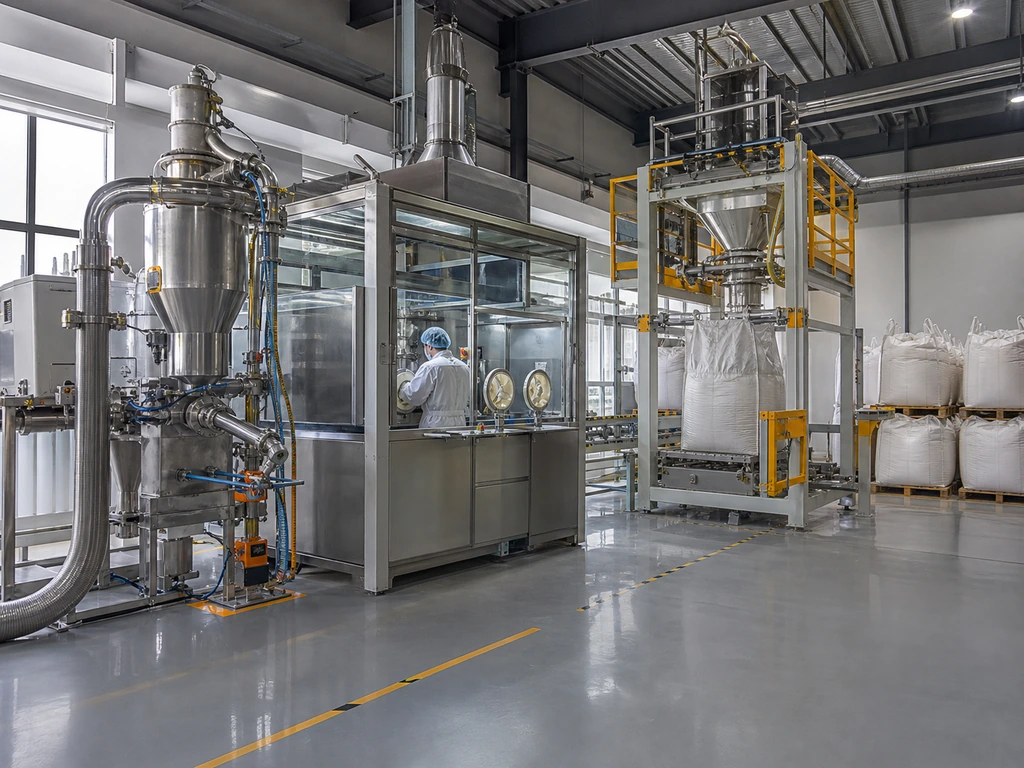
- Moisture-proof packaging. Sealed drums, packed fast in controlled low humidity. Media that arrives pre-adsorbed gives your bed a dead zone from day one.
Add one line to every RFQ: state your dew point target, inlet temperature, and operating pressure, and ask the supplier to confirm the bed arrangement and provide the batch test report with the shipment. Batch consistency is a fair question to ask directly (does the producer test every batch and retain samples for traceability?), and the answer tends to separate suppliers who make media from suppliers who bag it.
When the next refill goes on the RFQ, JALON ships free samples of 4A, 13X, and activated alumina — with the batch test report attached — before you commit the order.
Request Free SamplesThe Distribution Play Behind Refill Demand
For distributors and dryer OEMs, the refill market has a structure that isn’t obvious from the price list. The demand doesn’t arrive on a calendar; it arrives on a failure signature. An oil-fouled bed comes out as a whole, immediately, and takes a coalescer with it. A slug-damaged bed shortens its own cycle. That makes desiccant a recurring, event-driven sale, closer in character to filters than to capital equipment.
Inventory follows the failure modes
The velocity items are the predictable ones. Vehicle cartridges move on the published 24-month cadence. Common bead sizes (4A and activated alumina in 1.6–2.5 mm and 3–5 mm) serve standard towers. Pre-filter elements ride the same 6–12 month service rhythm as the beds they protect. Spec-graded media and layered-bed designs are the margin items: harder to quote, harder to substitute, and exactly where a commodity price comparison stops working. What’s not worth stocking deep is the consumer bottle-fill segment: saturated, price-transparent, and won on shelf presence rather than technical merit.
Sell the diagnosis, then the drum
The commercial move that sticks is diagnostic: help the customer read their spent bed (oil film, clumping, or fines), then quote the fix including the upstream cause. A quote with batch test data and retained-sample traceability answers the buyer’s real question: will this bed do what the datasheet says in my tower? That is also where we fit. JALON manufactures 4A, 13X, and activated alumina at industrial scale, and we’ll send free samples with test reports before you commit an order, whatever its size. The %wt and crush-strength numbers you read on our 4A molecular sieve or activated alumina datasheets are the same ones your own bench test will show. Batch documentation ships with the order. Our quality process is described at batch-level QC. For a distributor, that makes the media specification easier to defend; for a plant, it makes the next change-out easier to plan.
Get Batch-Tested Refill Media for Your Next Change-Out
JALON manufactures 4A, 13X, and activated alumina at industrial scale — free samples, datasheet numbers your own bench test will confirm, and batch documentation with every order.
Start a Refill QuoteReferences
- Fleet Equipment — Tech Tip: Service Interval for Air Dryer Cartridges
- National Highway Traffic Safety Administration (NHTSA) — Vehicle Safety Resources
- Sahara Air Products — Desiccant Fill Instructions / Service Guide
- Van Air Systems — Simple Advice on Desiccant Dryer Maintenance
- Van Air Systems — Dew Point and Temperature Spikes in Heated Compressed Air Dryers
- Atlas Copco — What Is a Desiccant Air Dryer?
- Atlas Copco — Understanding ISO Classes for Compressed Air Quality
- BASF — Adsorbent Solutions: Compressed Air Drying
- Air Best Practices — Regenerative Desiccant Compressed Air Dryers
- Super-Dry Systems — How Long Does Air Dryer Desiccant Last?
- Chemical Engineering Resources — Channeling in Molecular Sieve During Adsorption
 EN
EN  DE
DE  ES
ES  JA
JA  RU
RU  PT
PT  FR
FR  AR
AR  KO
KO  TH
TH  ID
ID